
Beautiful results begin before the first sanding pass. Therefore, careful hardwood refinishing preparation protects the wood, supports even color, and prevents avoidable delays. At Santiago’s Hardwood Flooring Inc, we plan each stage around the floor’s condition. This practical guide explains how to prepare your room, surface, tools, stain, and finish for a lasting result.
How Does Hardwood Refinishing Preparation Improve Final Results?
Hardwood refinishing preparation creates a clean, stable, and smooth surface before stain and finish are applied. First, the room must be cleared. Next, damaged boards need attention. Then, careful sanding and dust removal help the stain absorb evenly. As a result, the finished floor looks smoother, richer, and more consistent.
Assess Every Floorboard Before Starting the Refinishing Process
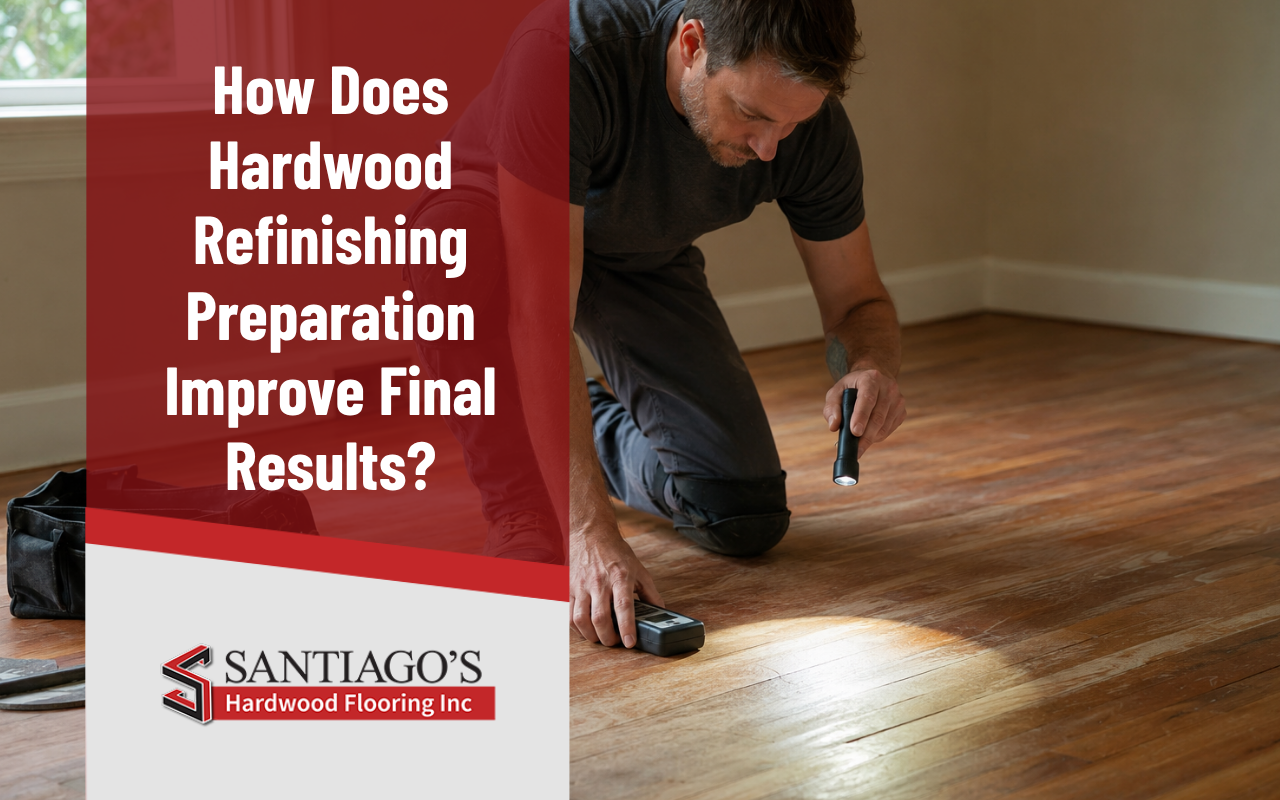
First, inspect the entire floor under clear lighting. Look closely at doorways, hallways, and other busy areas. These sections often show deeper wear.
At Santiago’s Hardwood Flooring Inc, we review the wood before choosing a refinishing method. Therefore, we can identify problems that may affect sanding or staining.
During the inspection, look for:
- Deep scratches, dents, or dark stains
- Loose, cracked, or raised boards
- Gaps between neighboring floorboards
- Water damage near doors, sinks, or windows
- Exposed nails or weak board edges
Additionally, consider the floor’s thickness. A floor that has been sanded several times may need professional review. Our guide about deciding whether to refinish or replace hardwood floors explains the main signs to compare.
Gather Essential Tools to Keep Each Stage Organized
Next, collect every tool before the work begins. This step prevents interruptions and supports a safer workspace. Moreover, having the correct supplies makes each task easier to control.
A basic refinishing project guide should include:
- A drum sander or orbital floor sander
- An edging sander for walls and corners
- Coarse, medium, and fine sandpaper
- A strong vacuum with a brush attachment
- Wood filler for small cracks and holes
- Tack cloths and clean, lint-free rags
- Safety goggles, hearing protection, and dust masks
- Hardwood stain and a compatible protective finish
Furthermore, read every product label before starting. Drying times and application steps can vary. At Santiago’s Hardwood Flooring Inc, we match the process to the wood and selected finish.
Clear Your Workspace to Reduce Dust and Damage
Before sanding, remove all furniture, rugs, lamps, and floor decorations. Then, take down nearby curtains or wall items that could collect dust.
Next, cover doors, vents, cabinets, and nearby openings with plastic sheeting. However, keep suitable airflow where the product instructions require ventilation. Proper room preparation supports cleaner wood floor sanding prep.
Follow these workspace steps:
- Remove every movable item from the room.
- Check the floor for staples, nails, and loose pieces.
- Cover connected rooms and fixed surfaces.
- Prepare a safe path for tools and materials.
- Keep children and pets outside the work area.
For a broader overview, learn the steps for a fantastic hardwood floor refinishing.
Repair Surface Damage to Create a Smoother Foundation
After clearing the room, repair visible imperfections. First, secure loose boards and address raised nails. Then, clean cracks, dents, and holes before adding filler.
Choose a filler that suits the wood’s color and type. Afterward, allow it to dry fully. Lightly sand each repaired area until it blends with the surrounding surface.
This part of hardwood refinishing preparation reduces visible marks after staining. However, filler cannot solve every problem. Warped boards, deep water damage, or weak edges may require repair or replacement.
Additionally, different woods respond differently to sanding and stain. Our article on how to pick the best hardwood floor for refinishing explains important wood and finish factors.
Sand the Wood Gradually for Consistent Surface Texture
Proper sanding removes the old coating and prepares bare wood for the next stages. Therefore, do not begin with very fine paper. It may leave old finish behind.
Follow These Steps for Safer, More Even Sanding
- Begin with coarse sandpaper to remove the old surface coating.
- Keep the machine moving at a steady, controlled pace.
- Use medium sandpaper to reduce marks from the first pass.
- Finish with fine sandpaper to create a smooth surface.
- Use an edging sander beside walls and inside tight corners.
- Vacuum between passes to remove loose sanding dust.
During wood floor sanding prep, never leave the machine running in one place. Otherwise, it can create dips or deep marks.
At Santiago’s Hardwood Flooring Inc, we approach sanding carefully because each pass affects the final appearance. Therefore, controlled movement and gradual grit changes are essential.
Remove Fine Dust to Support Strong Finish Adhesion
Once sanding ends, dust remains inside corners and wood grain. Therefore, cleaning must be slow and complete.
First, vacuum the entire floor with a soft brush attachment. Next, clean edges, corners, baseboards, and nearby surfaces. Then, vacuum the floor again.
Afterward, use a suitable tack cloth or the cleaning method required by the finish maker. Avoid leaving loose fibers or cleaning residue behind.
Thorough dust removal improves hardwood refinishing preparation because particles can create bumps and rough spots. Additionally, a clean surface supports more even stain and finish coverage.
Test Your Stain to Confirm Color and Absorption
Hardwood stain preparation should begin with a small test area. Ideally, test the stain on spare wood from the same species. Otherwise, use a hidden floor section.
Room lighting, wood grain, age, and previous treatments can change the final color. Therefore, allow the test area to dry before making a decision.
Before applying stain, confirm these points:
- The sanding pattern looks even across the room.
- Every repaired section feels smooth and level.
- The floor contains no visible dust or debris.
- The chosen stain suits the wood species.
- The protective finish works with the selected stain.
Then, apply the stain with the wood grain. Also, maintain a wet edge to reduce overlap marks. At Santiago’s Hardwood Flooring Inc, we value careful testing because it prevents unwanted color surprises.
Allow Each Coating to Cure for Lasting Protection
After staining, follow the manufacturer’s stated drying time. Temperature, airflow, humidity, and product type may change the waiting period.
Next, apply the protective finish in thin, even coats. Avoid heavy areas, drips, and repeated brushing. Additionally, follow the product directions for sanding between coats.
Do not move furniture back too early. Although a surface may feel dry, it may not be fully cured. Therefore, follow the coating maker’s guidance for walking, rugs, cleaning, and furniture placement.
With Santiago’s Hardwood Flooring Inc, you receive clear guidance before work begins. To discuss your floor and schedule an assessment, visit our contact page .
Protect Refinished Floors Through Simple Regular Care Habits
Once the finish has cured, regular care helps preserve the result. First, sweep or vacuum often to remove grit. Small particles can scratch the surface during daily foot traffic.
Also, place protective pads beneath chairs and tables. Clean spills quickly, and use only products recommended for the finish. Moreover, avoid soaking the wood with water.
For lasting care:
- Use mats near exterior doors.
- Lift furniture instead of dragging it.
- Trim pet nails when needed.
- Avoid harsh or abrasive cleaners.
- Check busy areas for early surface wear.
Ultimately, good maintenance protects the work completed during hardwood refinishing preparation. It also helps the floor retain its smooth appearance for longer.
Frequently Asked Questions
Why is preparation important before refinishing hardwood floors?
Preparation removes damage, dust, and old finish before new products are applied. Therefore, stain can absorb more evenly. It also reduces rough areas and visible flaws. For additional steps, learn the steps for a fantastic hardwood floor refinishing.
How should I prepare a room before sanding?
First, remove furniture, rugs, decorations, and loose items. Next, cover nearby doors, vents, and fixed surfaces. Finally, create proper ventilation and keep the area closed to children and pets. Our hardwood flooring team page lets you request project guidance.
Can every hardwood floor be refinished safely?
No. Some floors are too thin, deeply damaged, warped, or unstable. Therefore, an inspection should come first. Review deciding whether to refinish or replace hardwood floors before choosing your next step.
What sandpaper sequence works during floor preparation?
Generally, sanding begins with coarse paper. Next, medium paper removes deeper sanding marks. Finally, fine paper creates a smoother surface. However, the correct sequence depends on the old coating and floor condition. Learn the steps for a fantastic hardwood floor refinishing for a fuller process.
How do I choose a suitable hardwood stain?
First, consider the wood species, grain, room lighting, and desired color. Then, test the stain and let it dry. Different woods absorb color differently. Therefore, check out how to pick the best hardwood floor for refinishing before selecting a finish.
References: