Let’s face it: when it comes to a classy, elegant look, there’s no better than a solid hardwood floor. Not only does it grant your place grace, but it also gives you a long-lasting floor as well! That’s why today we’ll teach you the right way in hardwood floor refinishing!
Follow These Steps for Your Hardwood Floor Refinishing
Refinishing will bring back to life your floor. When done, you’ll count on a floor free of imperfections, stains, and scratches.
Keep in mind that this process is not your average refacing job. As a matter of fact, it can turn out quite noisy and dusty. That’s why you shouldn’t hesitate to get in touch with professionals when in need!
First Things First: Check Your Floor and Get the Materials
Before you get started on hardwood floor refinishing, you must first make an assessment of your floor. See if any gaps may cause a problem during the process. For instance, if you count on gaps in which you can see the nails below, it’s better to allow experts to handle the job.
Another thing you should check out is the fact if you count on laminated floors. If it does, then it’s better not to refinish or sand the floors, since it’s likely that the process will only wear them away.
Last but not least, bear in mind that there are floors which will require more refinishing than others. For instance, maple and mahogany floors take much more time compared to pine and oak solid wood floors.
Which Materials Should You Get?
When it comes to equipment for a DIY refinishing job, you should rent an orbital sander and a power hand sander. When renting these tools, always make sure that you know how they work and if the machines are working correctly. You can do so by asking for a demonstration of the device.
Second, make sure that you get the right grit for sanding. There are three types of grit for the whole process. For the first pass, you’ll need a grit that’s from 30 to 40. Next, for the second pass, you’ll require a 50 to 60 grit sandpaper. Lastly, for the third pass, you’ll need an 80 to 100 sandpaper grit.
Additional materials include the following:
- Plastic sheeting
- Hardwood floor cleaner
- Wood filler
- Shop vacuum
- Nail set
- Painters tape
- Tack cloths
- Sanding screen
- Mineral spirits
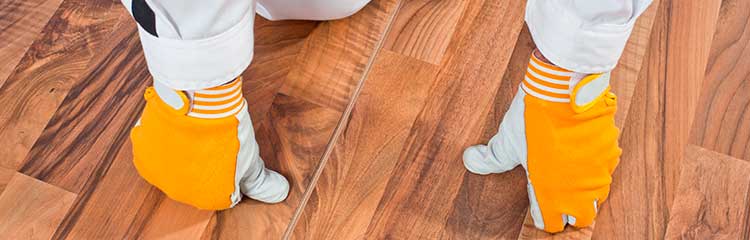
- Dust mask
- Goggles
- Earplugs
- Paintbrushes
- Paint tray
- Polyurethane floor sealant
- Lamb’s wool applicator
Before we move on to the next step of hardwood floor refinishing, remember that for you to start refinishing, you must first clear out and remove any furniture that might get in the way. Also, try to cover as much as you can, your doors, windows, and vents to prevent dust from spreading around the house.
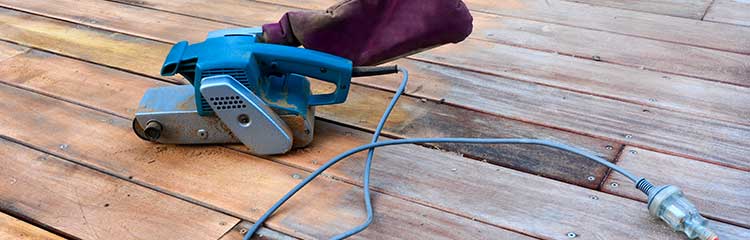
First Step: Sanding Your Hardwood Floor
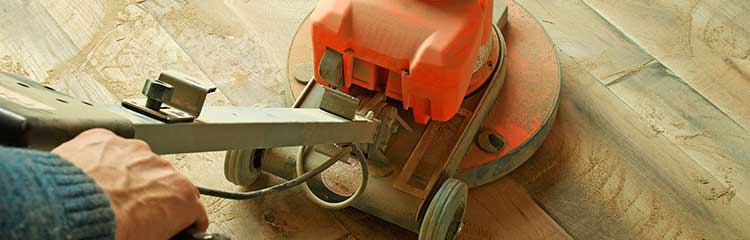
Turn on the orbital sander. After turning the machine on, start moving it slowly. Keep moving the sander at a steady and even pace, since if it stays too long in one place, it might damage your floor. Also, there’s no need to push the machine too much.
For a better sandings process, we highly recommend overlapping the buffer’s courses by 6 inches. Also, because the sander tends to leave a powdery path as you go, it’s easy to see which are the region’s you’ve already covered.
Lastly, remember to stop every five minutes. This is to vacuum the pad and prevent the dust from accumulating.
After the floor sanding, you can start sanding hardwood floors by hand any nooks and corners the sander couldn’t reach. Be sure to use 180-grit sandpaper instead of sanding blocks, since blocks tend to miss uneven spots.
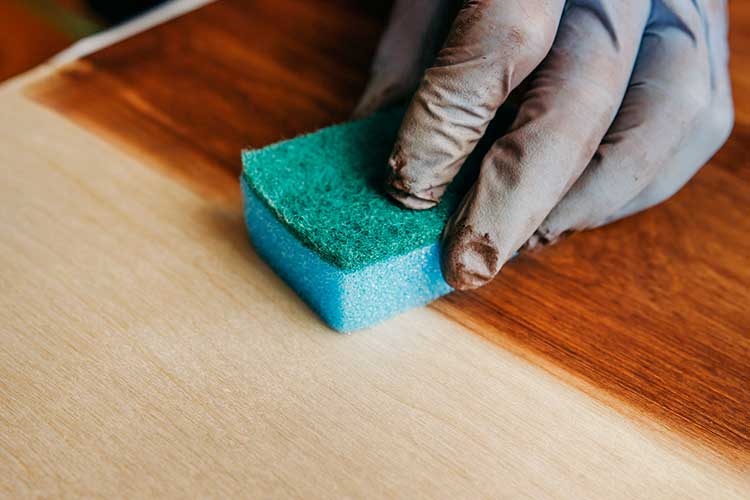
Second Step: Clean, Wipe and Vacuum Your Floor
Before wiping and cleaning, you’ll first need to leave the room for 15 minutes. That way, you’ll give the powder the chance to settle down, thus helping you with the cleaning process.
The initial step in cleaning your floor consists of vacuuming. First, you’ll need to place a clean filter on your vacuum. Then, sweep the floor using a flat mop with a thick, soft cloth. Lastly, use a microfiber cloth to dry-tack the hardwood floor.
Third Step: Preparing the Hardwood Floor Finish
It’s time to take out the paintbrushes, paint tray, and the polyurethane floor sealant.
Polyurethane sealants are known as the most durable hardwood floor finish. This is because it provides this type of flooring a clear and protective layer that’s resistant to liquids and stains. Bear in mind that this substance must be used only in ventilated areas since it can be toxic.
Fourth Step: Apply Refinishing Treatment onto the Floor
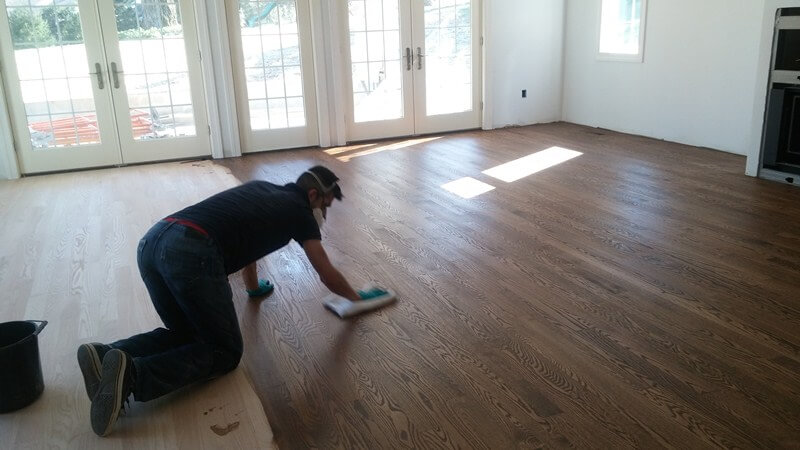
First, you’ll need to strain the finish into a small plastic container using a cone filter. Then, using a 3-inch brush, apply the hardwood floor sealant to beside the baseboards.
After finishing with the baseboards, you’ll like to picture your path in which you’ll start to paint. This will help prevent getting trapped into a corner. The best way to go is by refinishing hardwood floors in sections. Begin by applying the finish to the farthest corner, and then slowly making your way to the door.
Using the lambswool applicator, start painting in the direction you pictured the best. Also, keep in mind that the first coat in refinishing must be thin! After applying the first layer, you must let it dry. The drying time should vary between 3-8 hours. Always check the finish product label to make sure which is the specified time.
After allowing the finish to dry, be ready to lightly sand your hardwood floor with a pole sander. This will help ensure that the second coat adheres better. After sanding, you can apply the second layer.
Repeat this process until you’ve reached your desired result. It might take you 3 to 4 layers of finish to count on a fully refinished door.
Start Your Hardwood Floor Refinishing Today!
Now that you know the steps in how to sand and refinish hardwood floors yourself, it’s time to restore your floor!
Always remember, if you’re not sure if you’re ready for the task, you can always leave this type of job to professionals. You can be sure that they’ll give you the floor restoration you deserve. By having a licensed and insured team by your side, you can be sure that they’ll do a great job with your hardwood floor refinishing.
Want to learn more about how to keep your floor in excellent shape? Read about the top ways to fix your hardwood floor here!